How Long Does Polyfilla Take to Dry? (5–20 Min to 2 Hours) Full UK Guide
Polyfilla has become a trusted solution for homeowners and decorators across the UK who want to achieve smooth, flawless walls. Whether you are repairing hairline cracks or filling larger holes, understanding the drying process is crucial for achieving professional-looking results. Many people begin their project by asking how long does polyfilla take to dry, as timing directly affects every stage of decorating.


The answer is not always straightforward, as drying times can vary depending on several factors such as the type of filler, thickness of application, and environmental conditions. This guide explores everything you need to know, from drying times to preparation tips, helping you complete your DIY project efficiently and with confidence.
What Is Polyfilla and Where Is It Used
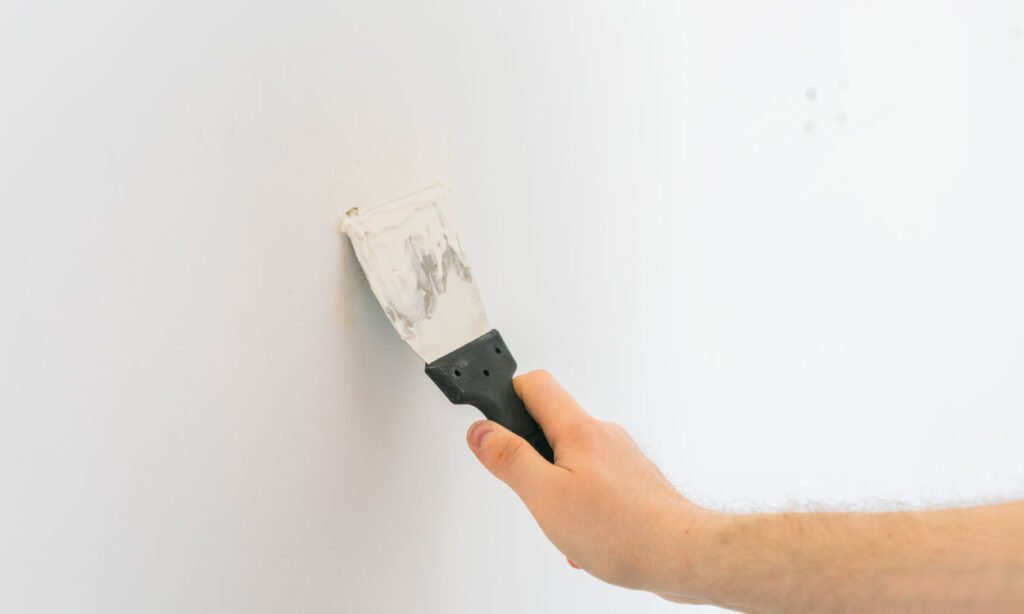
Polyfilla is a versatile filler commonly used to repair surfaces like plaster, wood, brick, and stone. Available in ready-mixed tubs, powder form, and quick-drying formulas, it is designed to cater to a wide range of repair needs. Its ease of use makes it ideal for both beginners and experienced DIY enthusiasts looking to prepare surfaces before decorating.
In most UK homes, Polyfilla is used to fill nail holes, cracks, and damaged plaster before painting or wallpapering. Interior fillers are typically smoother and easier to sand, while exterior fillers are formulated to withstand changing weather conditions. Choosing the right product plays a significant role in determining how long does polyfilla take to dry and how durable the repair will be.
How Long Does Polyfilla Take to Dry
The most common question people ask is how long does polyfilla take to dry under normal conditions. Quick-drying fillers can set in as little as 5 to 20 minutes, making them perfect for small repairs that need immediate attention. Standard ready-mixed Polyfilla usually takes around one to two hours to become surface dry and ready for light sanding or recoating.
However, it is important to distinguish between surface dry and fully cured filler. While the surface may feel dry to the touch within a couple of hours, deeper layers may still contain moisture. For larger repairs, complete drying can take significantly longer, especially in colder or more humid environments commonly found in parts of the UK.
How Long Does Polyfilla Take to Dry Before Painting
Before painting over any repaired area, it is essential to ensure the filler is completely dry. Many DIYers wonder how long does polyfilla take to dry before painting, and the general recommendation is to wait at least one to two hours for thin applications. However, thicker layers or deeper repairs may require additional time to fully harden.
Painting too soon can lead to a patchy finish, as trapped moisture can affect how the paint adheres to the surface. To achieve the best results, always check that the filler is firm and no longer cool to the touch. Applying a primer can also improve paint coverage and ensure a more even, long-lasting finish.
How Long Does Polyfilla Take to Dry Before Sanding
Sanding is a vital step in achieving a smooth and seamless surface, but timing is everything. If you are unsure how long does polyfilla take to dry before sanding, it is generally safe to begin once the filler is completely surface dry, which usually takes one to two hours for standard products. Quick-drying fillers may be ready even sooner.
Sanding too early can damage the repair, causing the filler to crumble or pull away from the wall. Once properly dried, use fine-grit sandpaper and apply gentle pressure to avoid creating uneven patches. Taking your time during this stage ensures the repaired area blends perfectly with the surrounding surface.
How Long Does Polyfilla Take to Dry Before Drilling
For more demanding tasks such as mounting shelves or fixtures, it is essential to know how long does polyfilla take to dry before drilling. Unlike painting or sanding, drilling requires the filler to be fully cured, which can take anywhere from 24 to 48 hours depending on the depth and size of the repair.
Attempting to drill into filler that has not fully hardened can weaken the structure and lead to crumbling. This can compromise the strength of the fixing and may require you to redo the repair. Allowing adequate curing time ensures the filler is strong enough to support screws and other fixtures securely.
Factors That Affect Polyfilla Drying Time
Several factors can influence how long does polyfilla take to dry, making it important to consider your working conditions. The depth and thickness of the application play a major role, as thicker layers retain moisture for longer periods. Building up deep repairs in thin layers can significantly reduce drying time.
Environmental conditions such as temperature and humidity also have a considerable impact. Cold and damp conditions, which are common in the UK, can slow down the drying process considerably. On the other hand, warm, dry, and well-ventilated spaces help the filler dry more quickly and evenly.
Tips to Make Polyfilla Dry Faster
If you are working on a tight schedule, there are several practical ways to speed up drying time. Applying thin layers instead of one thick application allows moisture to evaporate more quickly and reduces the risk of cracking. This approach not only speeds up drying but also improves the overall finish.
Improving ventilation is another effective method. Opening windows or using a fan can help circulate air and remove excess moisture from the room. Gentle heating can also assist in colder months, but it is important to avoid excessive heat, as it can cause the filler to dry unevenly or develop cracks.
Common Problems and How to Fix Them
One common issue DIYers face is Polyfilla not drying as expected. This often occurs when the filler is applied too thickly or when the room lacks proper ventilation. In such cases, removing excess material and allowing more airflow can help resolve the problem and ensure proper drying.
Cracking and shrinking are also frequent concerns, particularly with deeper repairs. These issues can usually be fixed by applying additional thin layers after the initial application has dried. Taking a careful and patient approach will help you achieve a more durable and professional finish.
Conclusion
Understanding how long does polyfilla take to dry is essential for any successful decorating project. While quick-drying options offer convenience for small repairs, standard fillers require more time to achieve a solid and lasting result. Patience during the drying process can make a significant difference in the final appearance.
By allowing sufficient time before painting, sanding, or drilling, you can ensure your repairs are both strong and visually seamless. With the right techniques and attention to detail, Polyfilla can help transform imperfect surfaces into smooth, ready-to-decorate walls.