Conservatory Roof Sail Blinds DIY: The Complete UK Guide to a Cooler, Budget-Friendly Conservatory
A conservatory is often described as the brightest room in the house, yet for many UK homeowners it can quickly become the most uncomfortable. During summer, direct sunlight pours through the glazed roof, trapping heat and creating a greenhouse effect. In winter, the same glass panels allow warmth to escape, leaving the room chilly and underused. Finding an affordable and stylish solution is essential if you want to enjoy your conservatory all year round.


This is where conservatory roof sail blinds DIY projects have become increasingly popular. Instead of investing thousands in bespoke roof blind systems, many homeowners are choosing to design and install their own fabric sails. This approach offers flexibility, cost control, and creative freedom. With careful planning and the right materials, you can transform your conservatory into a comfortable, inviting space without stretching your budget.
Understanding How Sail Blinds Work in a Conservatory
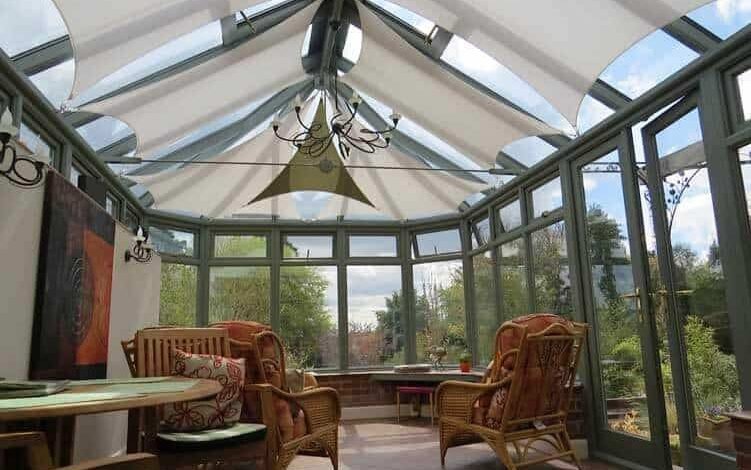
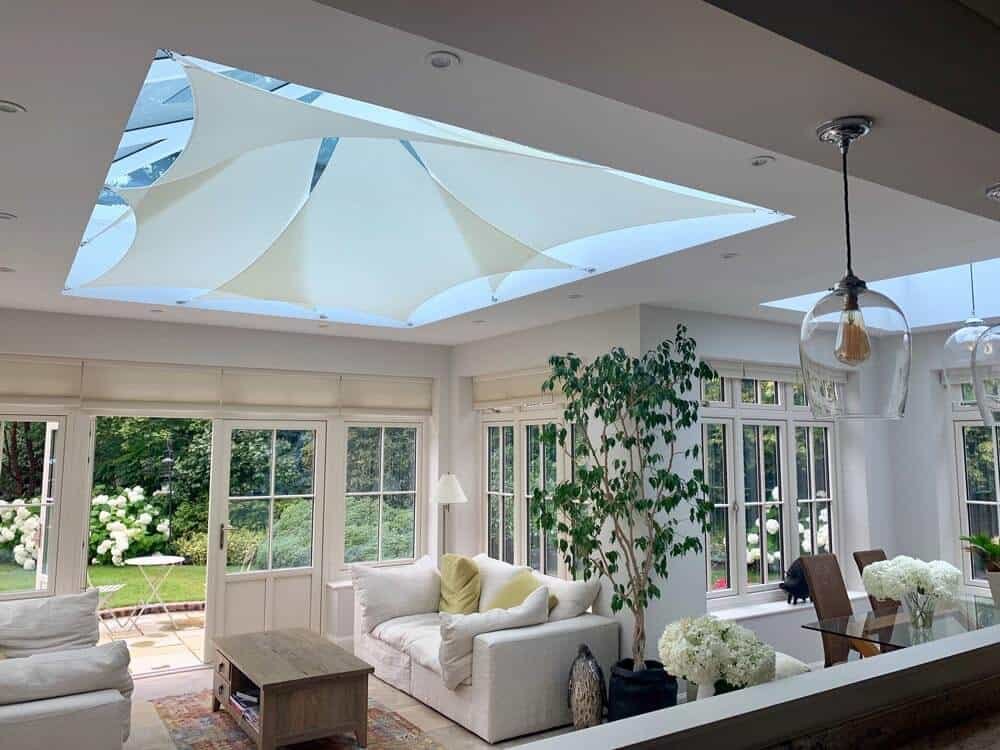
Sail blinds are fabric panels that are tensioned beneath the roof glazing, usually attached at each corner to create a smooth, floating appearance. Unlike traditional roller blinds that sit flush against the glass, sail blinds hang slightly below it. This creates a small air gap that helps reduce heat transfer while softening harsh sunlight into a pleasant, diffused glow.
The design is both practical and visually striking. A well-executed conservatory roof sail blinds DIY installation introduces texture and warmth to what is often a glass-heavy space. The sails can be triangular or rectangular, depending on the shape of your roof panels. Their simplicity makes them suitable for Victorian, Edwardian, lean-to, and modern conservatories alike.
Why Conservatory Roof Sail Blinds DIY Is Popular in the UK
The British climate is famously unpredictable, with sudden heatwaves followed by grey, damp days. Sail blinds offer a flexible shading solution that works in both extremes. During hot spells, they block direct glare and reduce the intensity of sunlight. In cooler months, they can help retain warmth by adding a soft insulating layer beneath the glazing.
Cost is another major reason for their popularity. Professionally fitted roof blinds can be expensive due to bespoke manufacturing and installation fees. By choosing conservatory roof sail blinds DIY, homeowners can dramatically reduce costs while still achieving an elegant, tailored look. The savings often allow for higher-quality fabrics or additional decorative touches.
Planning and Measuring for a Professional Finish
Accurate measuring is the foundation of any successful DIY project. Each roof panel should be measured individually, as slight variations are common in conservatory construction. Measure the width and length of each section carefully, noting any angles or slopes. Taking your time at this stage prevents costly mistakes later on.
It is also important to consider where your anchor points will sit. Timber frames usually allow for secure screw fixings, while uPVC frames require more care and sometimes specialist brackets. Proper planning ensures your conservatory roof sail blinds DIY installation will be stable, symmetrical, and visually balanced once complete.
Choosing the Right Fabric for Long-Lasting Results
Fabric choice determines how effective and durable your sail blinds will be. UV-resistant materials are highly recommended, as they withstand prolonged sun exposure without fading. Breathable fabrics help reduce condensation build-up, which is particularly important in the often damp UK environment.
Some homeowners prefer blackout linings to significantly reduce glare, especially if the conservatory is used as a television or workspace area. Others opt for light-filtering materials that maintain brightness while softening the sun’s intensity. When planning your conservatory roof sail blinds DIY project, select a medium-weight fabric strong enough to hold tension without sagging over time.
Making Your Sail Blinds Step by Step
Once your measurements are confirmed, cut the fabric slightly larger than required to allow for hems and reinforcements. Double-fold hems along all edges will prevent fraying and provide extra strength. Reinforcing the corners is particularly important, as these points will bear most of the tension once installed.
Adding eyelets or strong corner tabs ensures the sails can be securely attached to hooks or tension wires. Even spacing is key to maintaining a neat, professional finish. Taking care during construction will make your conservatory roof sail blinds DIY installation easier and help the panels sit smoothly beneath the roof.
Installing Sail Blinds Safely and Securely
Before drilling or fixing any hardware, mark your anchor points carefully to ensure alignment. Symmetry is essential for a clean aesthetic. Use appropriate fixings for your frame type and always follow safety precautions when working at height, including using a stable ladder and protective equipment.
Once the hooks or brackets are in place, attach the fabric panels and gradually tighten the cords or tension wires. Adjust evenly across all corners to avoid pulling the sail out of shape. A properly tensioned conservatory roof sail blinds DIY setup should look crisp and taut without placing excessive strain on the fabric.
Budget-Friendly Alternatives and IKEA Inspiration
For those seeking even greater savings, adapting ready-made curtain panels can be a creative option. Many homeowners explore affordable high-street solutions to replicate the sail effect. Lightweight curtain fabrics can be cut and reinforced to mimic traditional sail designs, making this an accessible starting point for beginners.
However, while budget options reduce upfront costs, durability may differ from purpose-made sail fabrics. If you plan to keep the blinds installed year-round, investing in higher-quality material may prove more economical in the long term. Balancing cost and longevity is an important part of any conservatory roof sail blinds DIY decision.
Maintenance and Seasonal Care
Regular maintenance will extend the life of your sail blinds. Dust can be removed with a handheld vacuum or soft brush attachment. Spot cleaning with mild detergent is usually sufficient for minor marks, though always follow fabric care guidelines to avoid damage.
Many homeowners choose to remove their sails during darker winter months to maximise natural light. If you do so, store them in a dry, well-ventilated space to prevent mildew. With proper care, a conservatory roof sail blinds DIY installation can remain attractive and functional for many years.
Conclusion
Transforming an overheated or underused conservatory does not require an enormous budget. With thoughtful planning, accurate measuring, and quality materials, conservatory roof sail blinds DIY projects offer a practical and stylish solution. They soften harsh sunlight, improve comfort, and add a contemporary touch to your home.
By embracing a hands-on approach, you gain full creative control over colour, fabric, and layout. Whether you prioritise cost savings, energy efficiency, or aesthetic appeal, this versatile shading option can dramatically enhance your living space. With patience and attention to detail, your conservatory can become a comfortable retreat throughout every season in the UK.